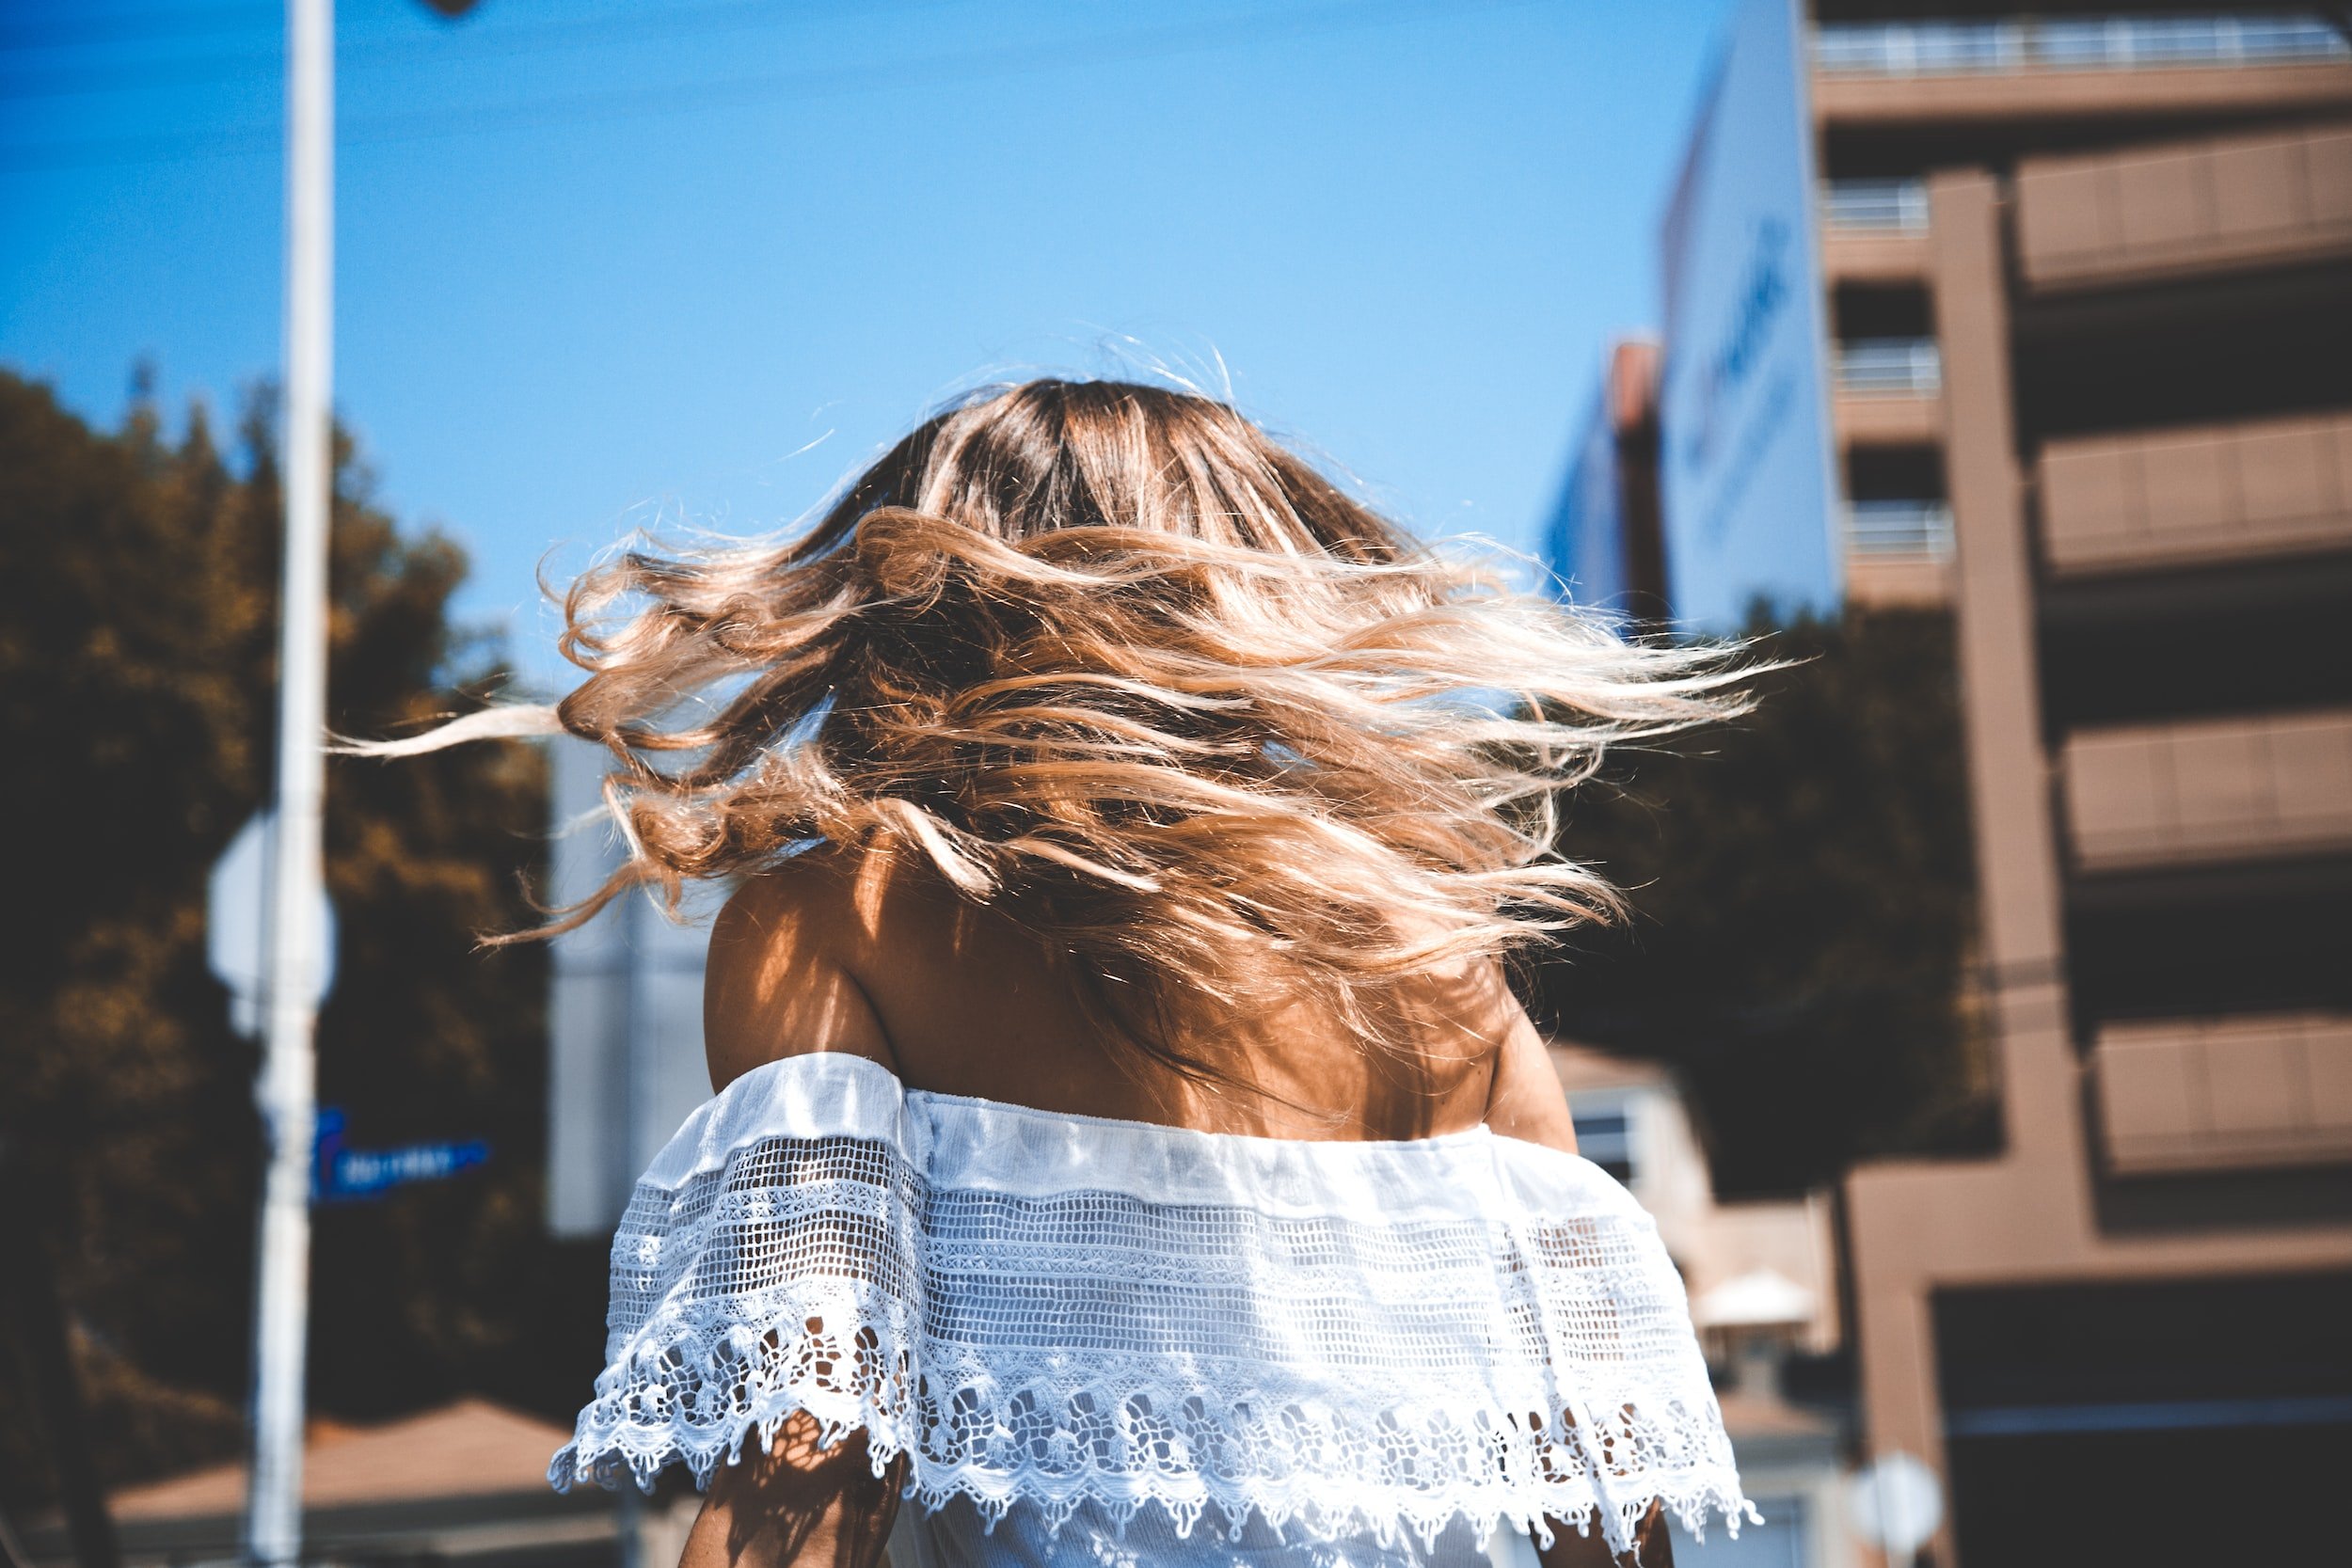
Balayage: We Breakdown The Process Step by Step
Balayage has been around for a while but this timeless technique has managed to creep its way back into the mainstream as one of the most popular and influencer-obsessed cultural hair movements of our time. And understandably so, not only is it beautiful but super low maintenance and perfectly suited to the modern-day woman who wants to anchor herself to natural surroundings & all things sustainable.
What is Balayage? Why is it Sustainable?
Balayage is a freehand colouring technique that gives a blended, natural look with no harsh or obvious regrowth lines.
It’s sustainable because it typically requires less hair product and fewer hair opportunities than your average hair colouring process.
So what exactly is involved in the process? Come with us as we break it down step by step.
Step 1
The first step in any balayage appointment is a consultation with your colourist.
Book a separate appointment BEFORE your main colour appointment to review your inspo pics and talk in-depth about your desired result.
Your colourist will make suggestions and should be able to provide you with a timeframe for getting you from where you are now, to where you want to be.
Otherwise, it's totally fine to have your consultation directly before you start colouring; whichever you feel most comfortable doing.
Step 2
Your colourist will start sectioning your hair as he/she is deciding what colours to place where.
This technique requires your colourist to apply the product in a freehand motion as this is the best way to ensure you get the most natural and sun-kissed glow possible.
If you're used to traditional methods of highlighting where they meticulously section the hair and apply foils, you may find this part disjointed however rest assured this is all a part of the glow-up process.
Step 3
After the colour is applied, your colourist will leave the product to develop by placing you under a heat or steam processor.
He/she may even place some of the sections into foils to speed up the processing time and increase the lift on your highlights and set a timer for a specific length of time before they come back to check on your progress.
Step 4
Once the timer is complete, your colourist will come and check the processing of the colour by running his/her finger across a small section of the hair, pushing the product aside and getting a good view of the individual strands and their new colour.
If he/she is satisfied with the amount your hair has lightened, they'll take you to the basin to start washing the colour off.
Otherwise, they may have you sit for longer to ensure the colour has lifted to the desired result.
Step 5
At this point, your new locks will be freshly washed including 2-3 shampoos, a conditioner and an additional toner if you're looking to eliminate brassy tones.
Your colourist will blowdry and style your hair and assess the overall colour to ensure she's managed to achieve your desired result.
How to Prepare For Your Balayage Appointment?
Bring photos, you can never have too many.
Come with clean hair; we usually recommend washing your hair 24/48 hours before your appointment.
Wear your go-to hairstyle - your colourist will apply colour depending on how you regularly wear your hair. Arrive with your hair styled how you would normally wear it to help your colourist better place highlights.
Balayage is a beautiful hair colouring technique that is sustainable, preserves your hair health and gives you the 'lived-in' GLOW you've been looking for.
Synergy Hair Melbourne is the expert in balayage application and looks forward to welcoming you into our salon for your GLOW UP!


